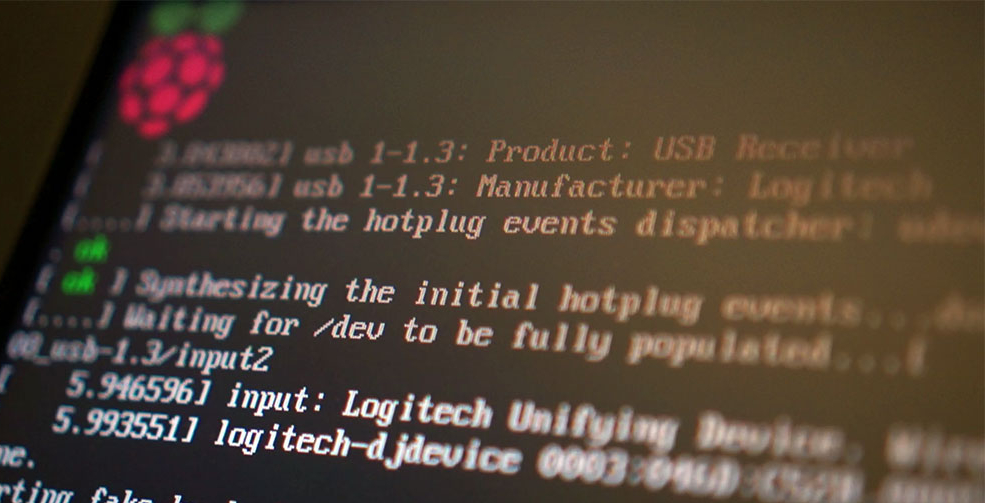
E.V.E front panel is touch-based. This is why I ordered an official touchscreen for Raspberry Pi, that I started to play with last night.
The software on E.V.E’s front has to run in kiosk mode. There are many alternatives. On could be to use a dedicated framework like Kivy, which can handle multi-touch and be used to build extremely nice interactive interfaces. But I’m in a proof of concept phase, and I don’t want to get into a deep learning phase. At least for now. So, even Xorg is not known to handle touch events brilliantly, I opted for a web application running in a browser, launched in kiosk mode. It might not be the smooth experience I’m looking for. But I’ve been messing up with web technologies since it was born (I was a young particle physicist apprentice at CERN at that time). I guess it’s in my genes now.
Removing LightDM greeter
On a Raspberry Pi running Raspbian, just like many other GNU/Linux distribution, Xorg is launched whenever one fires the startx command or when entering runlevel 5 (init 5). By default, the LightDM greeter is launched, to enable an interactive user identification followed by an Xorg session for that particular user. This is something I didn’t want. What I need for E.V.E is an Xorg session (for a predefined user) launched right away, without any greeter.
To do this, one has to modify LightDM configuration file located at /etc/lightdm/ligthdm.conf and add this simple line: autologin-user=root
An Xorg session for user root is then launched straight away whenever startx is invoked (or the system is entering runlevel 5). I chose the root account because I want a deep interaction between E.V.E and the hardware. This is not safe. It is somewhat OK for a prototype or a proof of concept, but it’ll have to be secured later on.
Getting rid of Xorg’s cursor
Xorg is designed for the desktop, not for interactive touchscreens. The first thing one would see on the screen is an unwanted cursor (screenshot taken from opensource.com):

There are several ways to get rid of Xorg’s cursor. For non interactive screens (such as the television sets I used for my Moshi-Moshi project) installing the unclutter package and invoking it in an autostart script is enough. But whenever the mouse is moved (or a touch event fired), the cursor reappears (and then is hidden back when it is not needed any more).
E.V.E’s front is a touch event-based application, thus unclutter won’t do the job.
There are several other ways to hide Xorg’s cursor. One is to define a cursor theme … where the cursor is actually invisible. Another one, much simpler and clever, is to add the -nocursor option to Xorg !
To do that on a Raspberry Pi (Raspian), jump to /etc/X11/xinit and edit the xserverrc file. Change it from exec /usr/bin/X -nolisten tcp "$@" to exec /usr/bin/X -nocursor -nolisten tcp "$@".
Autostart script
The autostart script for Xorg session on Raspberry Pi (Raspian) is located here: /etc/xdg/lxsession/LXDE-pi/autostart. Each instruction in this file will be executed whenever Xorg is launched. For example:
 @xscreensaver -no-splash

@xset s off

@xset -dpms

@xset s noblank

@chromium --user-data-dir=/root/chromium --kiosk http://localhost
The 4 first lines are removing the screensaving options, and the last one fires the chromium browser.
Taking screenshots from the command line (from ssh)
Now that my Raspberry Pi and its touchscreen are running, I need to take screenshots to illustrate E.V.E’s progresses. I am not that good at taking pictures of screens. Most eventually end up with bad moiré patterns.
But taking screenshots from the command line is actually very easy:
sshto your Raspberry Pi- type:
import -display :0.0 -window root shot.png
You’ll end up with a nice png file (shot.png) of your root Xorg window.
Choosing the right browser
Chromium serves as a base for Google Chrome, which is Chromium re-branded (name and logo) with a few closed-source additions. Chromium is an open-source, and aims to build a fast experience for the web. It has a nice –kiosk option. With this option chromium is launched in fullscreen kiosk mode. I thus added chromium to my autostart script. But it turned out very disappointing:
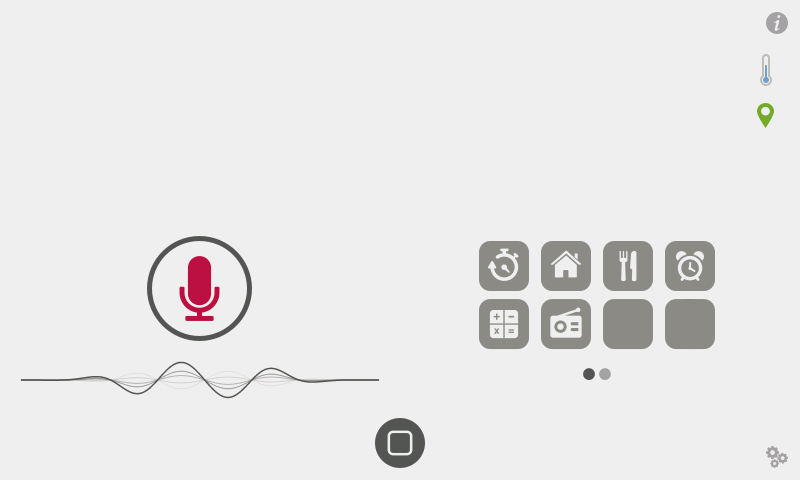
I was actually very surprised: it seems that part of E.V.E’s Javascript code isn’t running at all. I had tested this code many times last week with a chromium browser on my plain vanilla Debian workstation, with no problem whatsoever. I had also used chromium in kiosk mode many times on Raspberry Pis, without much problems and a few Javascript code. But E.V.E’s Javascript is much more complex than the one I had on previous tests of chromium kiosk mod. E.V.E’s interface is much more interactive, fetches REST information, interprets JSON Data, plays audio file, etc. It might be too much for chromium on Raspberry Pi. Its version is very very old (22.0.1229.94) when compared to a a regular Debian version (45.0.2454.85). What a disappointment !
Thus I tried a few other browsers for Raspberry Pi, such as iceweasel, midori ou kweb3. Without any luck …
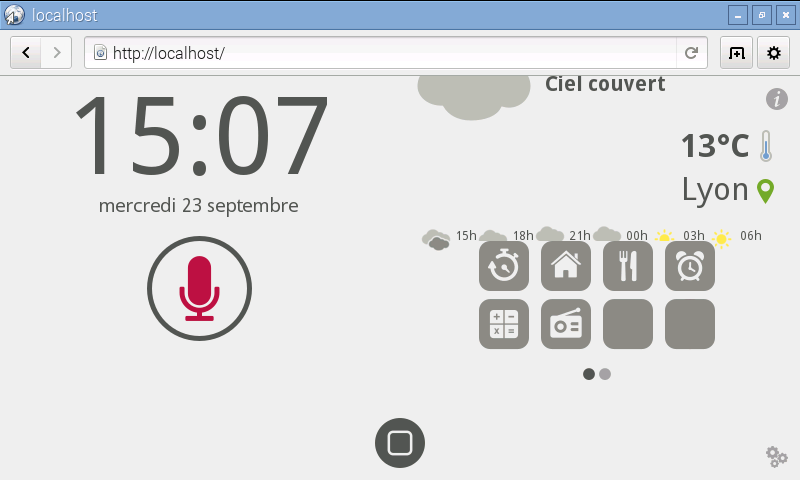
And then … I had an epiphany ! I fired up GNOME‘s epiphany browser, and it worked nicely :
The only drawback is that even with the --application-mode option, I couldn’t get epiphany to run in fullscreen.
I had to find a workaround, which is a bit ugly. I created this kiosk.sh script and added it to my autostart script:
 epiphany-browser http://localhost &

sleep 5

xte "key F11" -x:0

xte "key F5" -x:0
It starts epiphany-browser, waits a few seconds for the browser to be running and then simulate a F11 key press (fullscreen mode), followed by a F5 key press (reload, to avoid any cache problem). Yep, it’s dirty. But does the trick, until I’ll find a real solution:
The good thing, though, it that it gave me ideas for debugging purposes. Whenever I need to interact remotely with E.V.E’s screen, I just have to fire up xte events (to reload an updated page for example).
Adding a bit of interaction
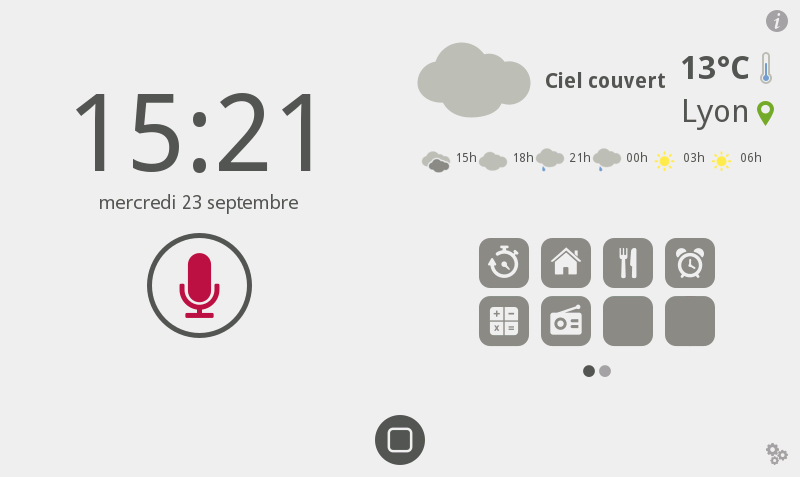
Now, let’s get a bit more interactive. To build E.V.E user experience, I chose the ChocolateChip UI framework. With a few customization, I could quickly add animations, pop-ups, switches, lists, carousels and other interactive widgets to E.V.E’s front interface:
That’s it for today, more to come later (including code, once it’s cleaned up a bit).
Great dashboard
Thanks JP 🙂