The COVID-19 pandemic had (and, unfortunately still has) a strong impact on us all. We all tried our best to cope with it, our own ways. Somehow, lock-downs triggered a bit of nostalgia for me, and, to my surprise, new geeky side projects emerged … populated with Lego bricks and old-school computers. Maybe I’m weird, I don’t know. But it helped me discover new communities of fun and talented techno-nerds.
In the next posts, I’ll try to describe what had been going on for these matters in the last year and a half.
First things first, let’s speak about how I jumped into retro-gaming and emulation software.
![]()
First project: Recalbox on a Raspberry Pi 3
The idea of building a small box able to play old games had actually been on my mind for a long time, before the pandemic.
Back in the 80’s and early 90’s, I wasn’t really a console player, but I had quite some fun gaming and hacking on 8-bit and 16-bit computers. So I hunted for something that could by a solid basis for emulating old school computers like Sinclair’s ZX81 and Spectrum, Amstrad CPCs, Atari ST’s or DOS machines, but also classic consoles like Atari’s, Sony’s, Sega’s or Nintendo’s.
After a few researches, I settled for RecalBox (version 6 at the time). I was mature, and could run on the spare Raspberry Pi’s I had (one Raspberry Pi 3 and an old Raspberry Pi Zero). The setup process is pretty easy, well documented and there is a strong and active community.
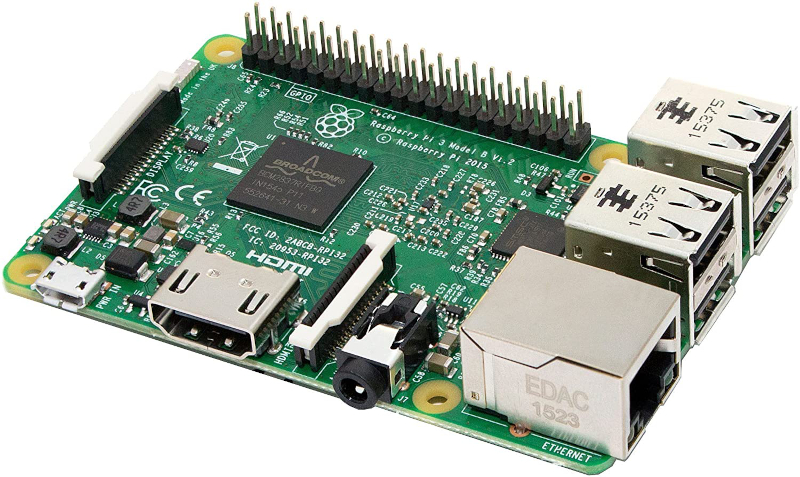
On the hardware side, I re-purposed an used Raspberry Pi 3 and a SD Card:
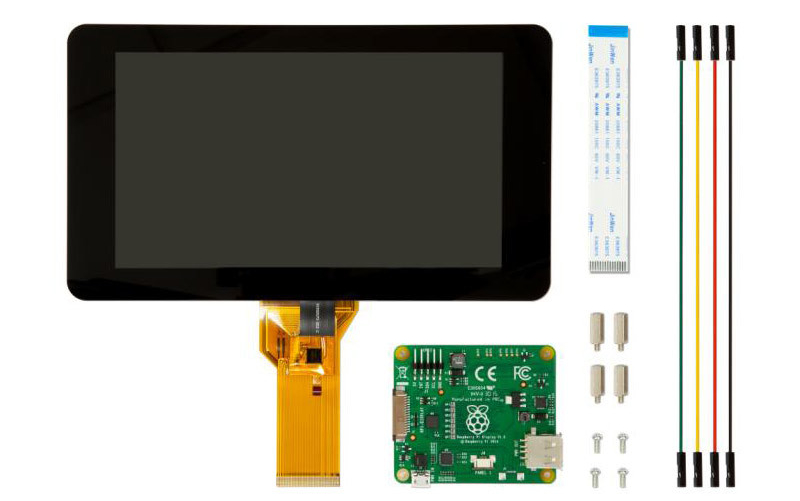
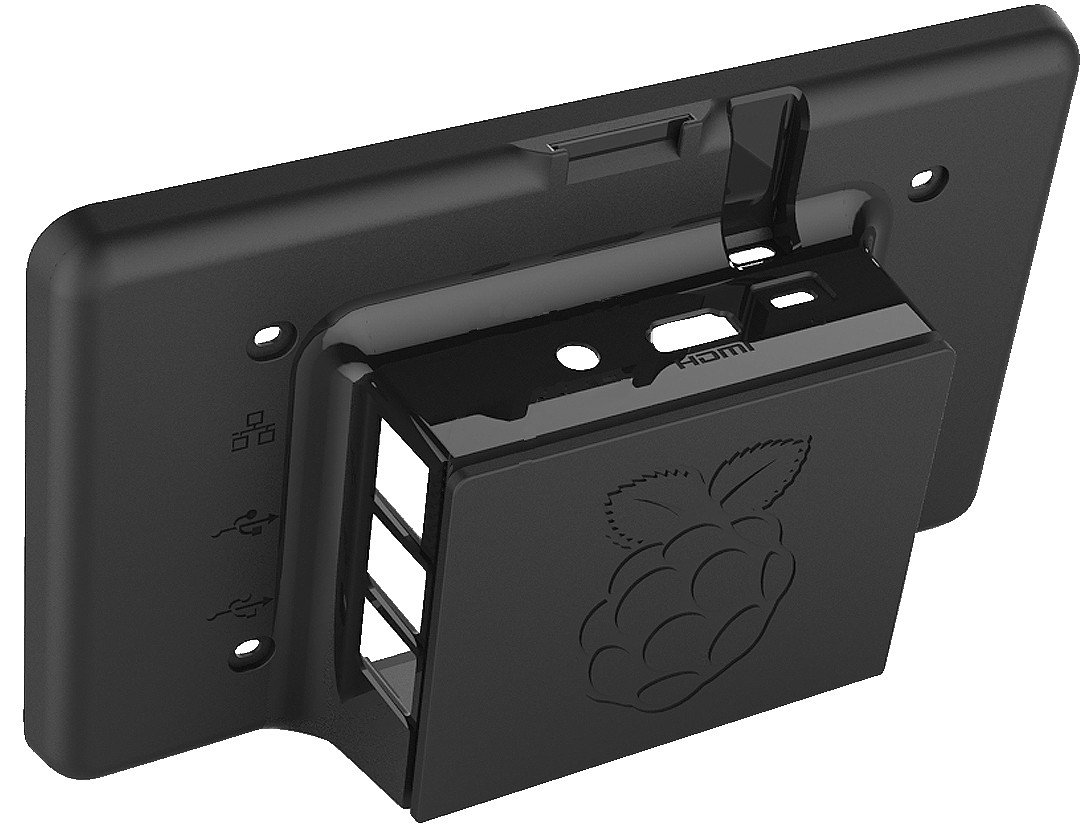
Then I went on shopping for a standard Raspberry Pi 7″ inch touchscreen and a case for it from an electronic shop around the corner:
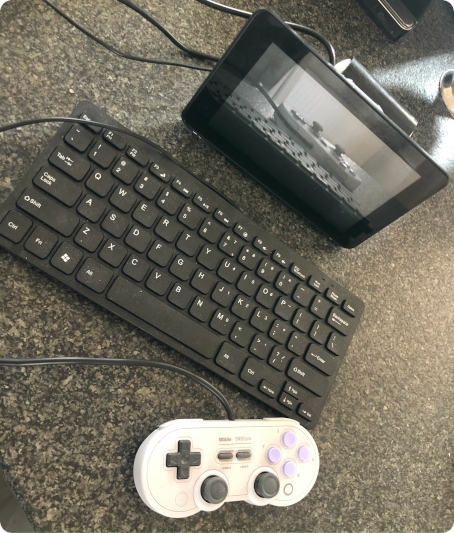
To complete the hardware setup, I purchased online a black QWERTY USB keyboard:

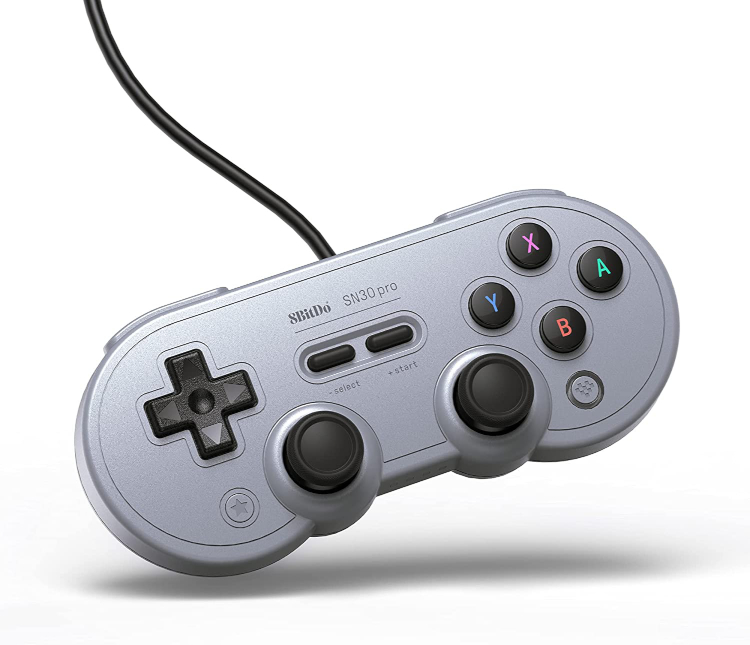
I bought a set of (very) nice gamepads from 8bitdo :
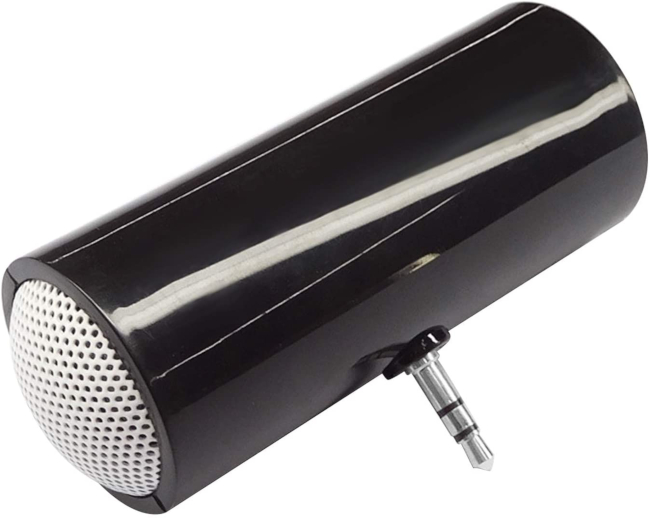
Sound was a little trickier. I tried a bluetooth speaker, then a spare little cubic speaker that I could connect via a jack connector. But it didn’t feel right for the setup I had in mind. Too much cables with their power supplies. After a while, I found online this ultra-cheapo speaker, that did the trick: stereo, jack connector, running on AAA batteries, could be fitted at the back of the case. It sound not great, but good enough for a first learning project:
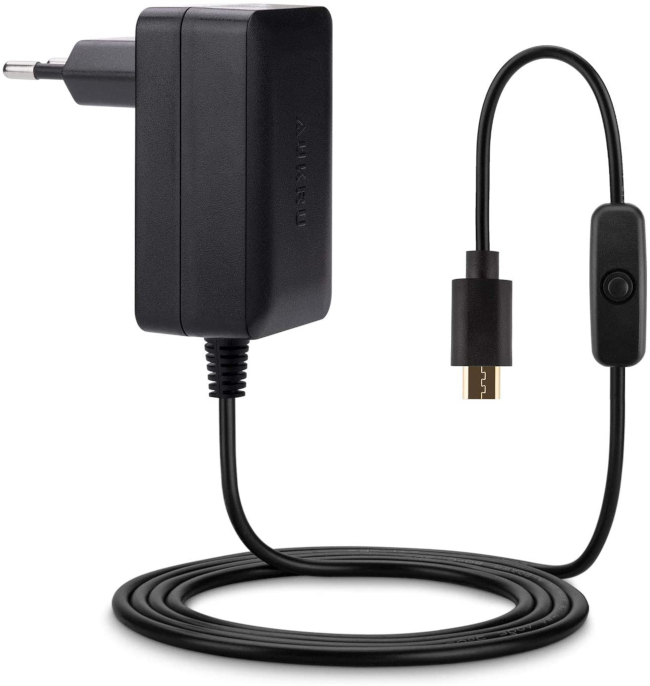
I powered the system with a 5V/3000mA micro USB power supply, enough to power both the Raspberry Pi and the screen:
… and well, with this hardware setup, I could go ahead, install and configure the system, load bioses and tons of roms/games, then customize the user interface and add layouts.
There you go ! I could quite easily setup a small box emulating:
- A Sinclair ZX81
- A Sinclair ZX Spectrum
- An Amstrad CPC (464, monochrome, like my old one)
- An Atari 2600 console
- An Atari 1040 ST (like my old one)
- A Commodore 64
- A ColecoVision console
- A DOS box
- Arcade machines
- A Famicom console
- A GameGear console
- GameBoys consoles
- Game & Watch pocket games (I loooooved those)
- An IntelliVision console
- Sega MasterSystem, Megadrive and 32X consoles
- A Sega MegaDrive console
- Nintendo 64, NES and SNES consoles
- NeoGeo and a Neogo Pocket consoles
- A PC Engine console
- A Vectrex console
- Sony PS and PSP consoles
Second project: handheld game console with Recalbox & GPi Case
During the 90’s I was way way too busy studying quantum physics for playing with handheld game consoles. Playing with GB/GBa/GBc games on the previous setup was … kind of a discovery.
With its 7″ screen and its keyboard, it a was a fair experience for Amstrad, Sinclair, C64 or Atari ST games. But of course, it was not designed for a good “handheld” gaming experience.
And thus was born a second project: building a handheld console for retro-games.
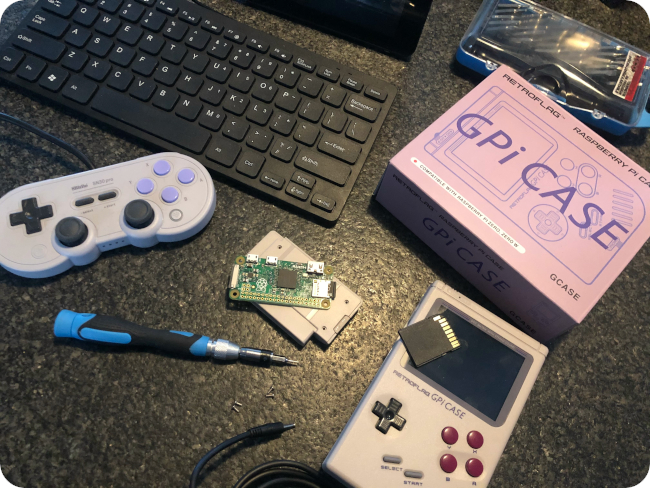
Choices were pretty easy: I would go with Recalbox again (which just been upgraded to version 7), a GPi Case and a good old Raspbery Pi Zero.
I reused bioses and roms/games collected for the previous setup, but this time, focusing only on games that would not require a keyboard.
Setup was flowless (and auto-magicaly optimized for the GPi Gase). I played with a few Recalbox themes, and chose one that would better fit a handheld experience:
Time went by. The RecalBox community published another major version. Since version 7, Recalbox supported Raspberry Pi 4 boards, but version 8 added its lot of novelties. It was time for another project: building a miniature version of a game console, hooked to a living room LCD TV, with proper scanlines, so it could look and feel a bit like gaming on a CRT TV.
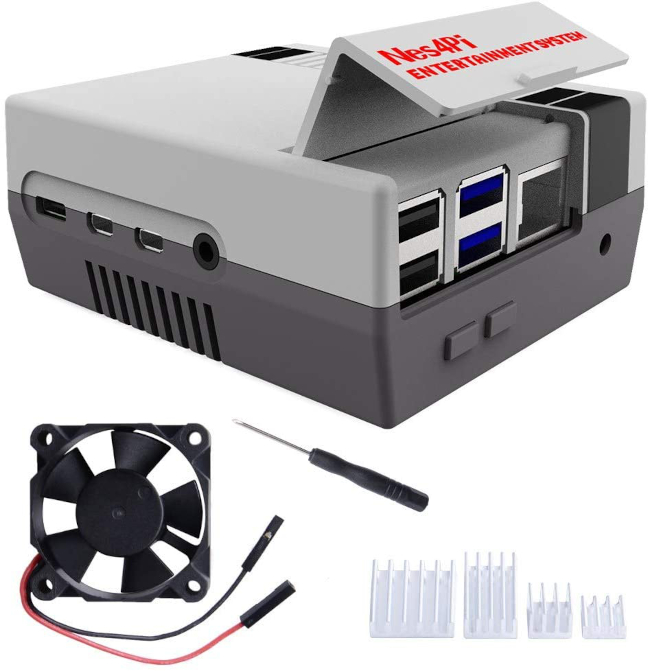
I bought a new Raspberry Pi 4, and opted for the Nes4Pi case:
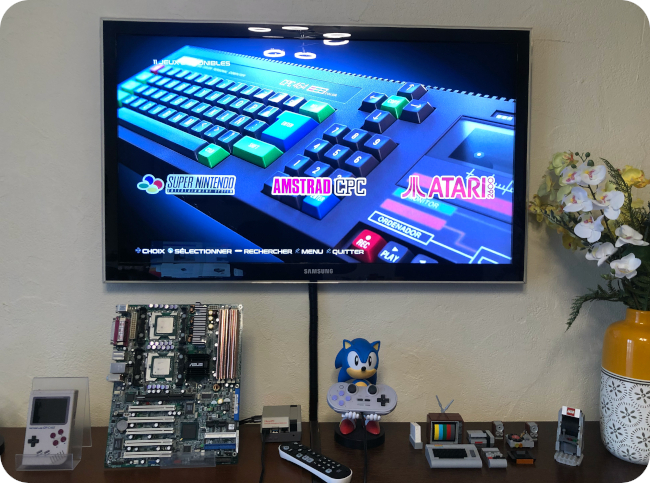
To complete the setup, I bought a new 8bitdo gamepad and a geeky “Sonic The Hedgehog” stand for it. I hooked the console to my old 42″ Samsung LED TV, hanged on the wall of my newly retro-computing themed home office room (more on that topic in a following post).
I reused the customized theme built for the first project, used the new system of layouts, updated necessary bioses, loaded games/roms, tweaked a bit the scanlines:
What’s next ?
Well, may be I’ll be playing with Recalbox RGB Dual, and I’ll hook the Nes4Pi to an old fashioned CRT TV. Trouble is that, since then, I jumped into the reto-computing bandwagon (more on this later !), and I start lacking space for it. Time will tell !