
In the previous post, I finally took the time to announce the creation of the Quantum-Bits Youtube Channel: https://www.youtube.com/@quantum-bits-org. The first videos, published almost a year ago, were dedicated to my beloved Amstrad CPC 464.
For the 4th video, I took a step outside of my comfort zone, and focused on a French 8bit-computer: the Thomson M05 !
As usual, I took a look at leboncoin.fr web site. There, it was quite easy to find a nice packaged MO5. For a change, the price was really reasonable! A little over a week later, I received this nice package, just on time for Christmas. How nice !
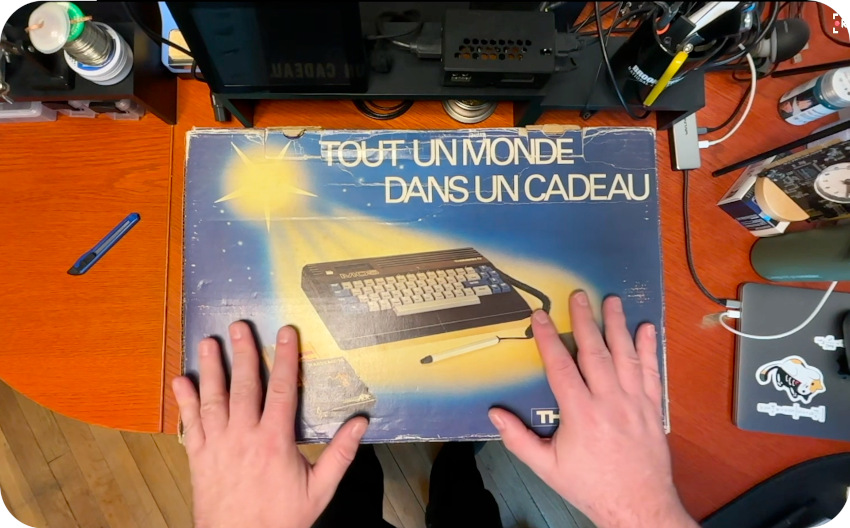
The computer and its accessories were still in their original packaging: “Tout un monde dans un cadeau”, which means “A whole world in a gift” in French:
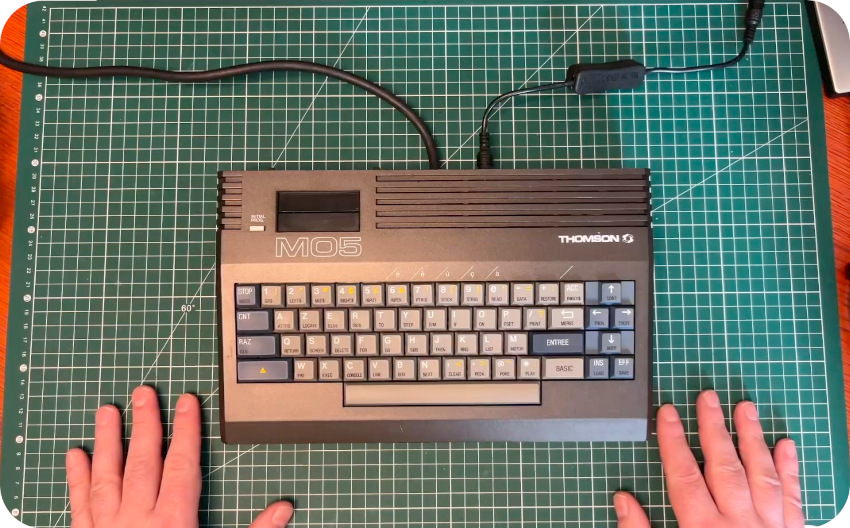
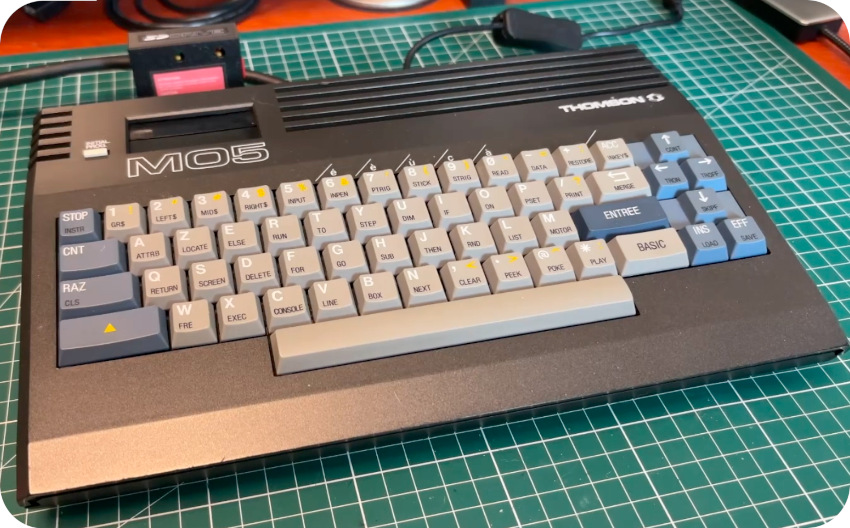
Inside the box was, of course, the Thomson MO5 computer itself:
Along with:
- Its manuals
- A collection of games on cassette tapes
- Two joysticks. I could not test them, since I am missing the MO5 joystick module. That been said, It is quite easy to find one (or build / order a brand new one). Something for another day.
- A couple of software on cartridges
- A light pen, which, unfortunately I couldn’t test since I didn’t have at the time a CRT monitor
- A unknown cable (which turned out to be part of the power supply unit)
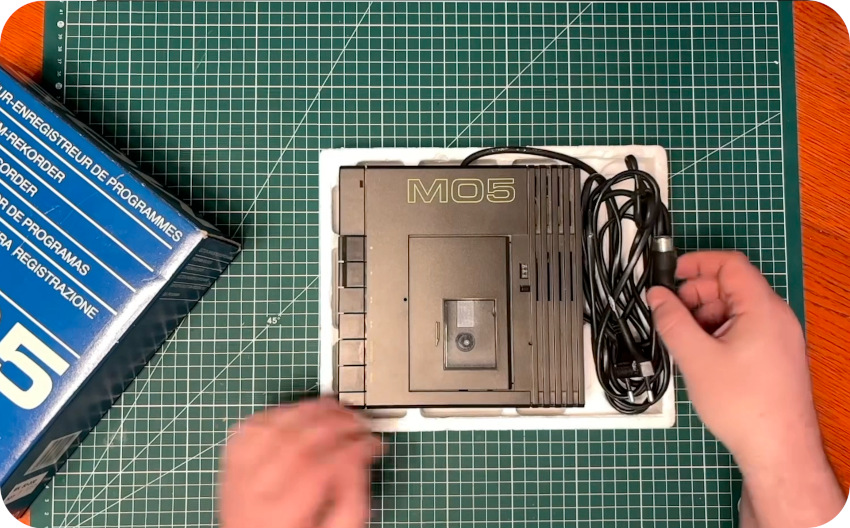
- A cassette tape reader / recorder
- And, finally, a dedicated Power Supply Unit. Unfortunately, after closer inspection, I lost confidence in it:
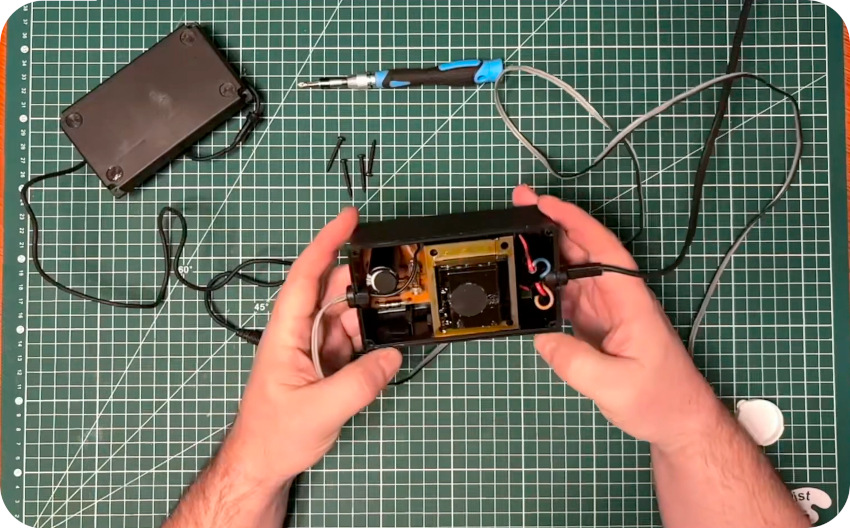
Fortunately, it is quite easy to build a new PSU for the MO5. I followed the step by step instructions from Daniel Coulom’s DCMOTO web site (a fabulous reference for all Thomson 8bit computers)
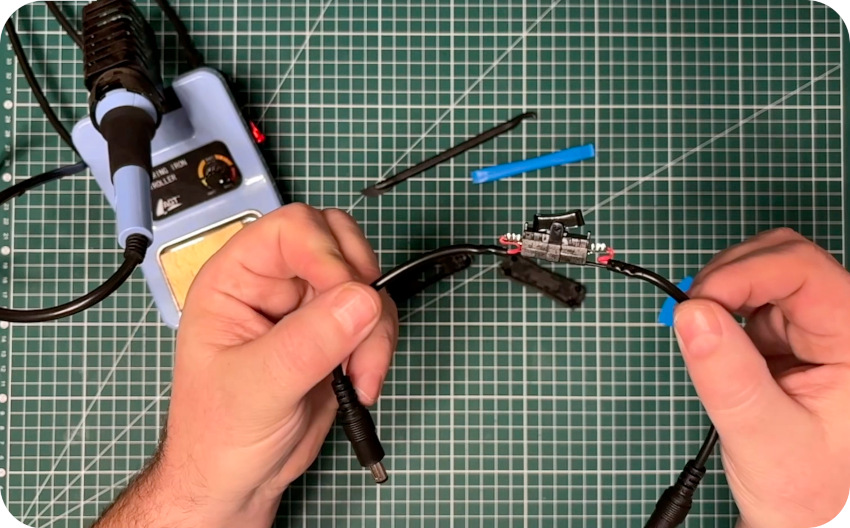
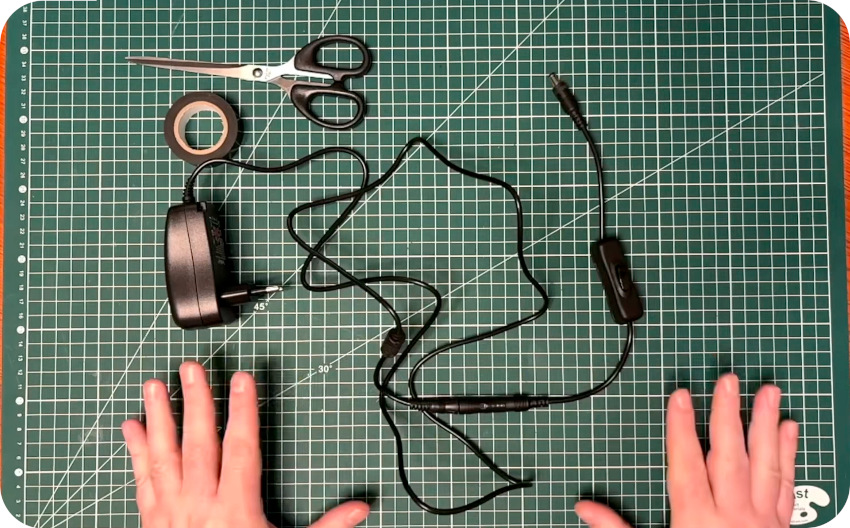
Once done, I could test the computer, which ran with absolutely no problem. It was quite dirty nevertheless, so, after this first run … it was time a good cleaning:
- I (carefully) opened the enclosure:
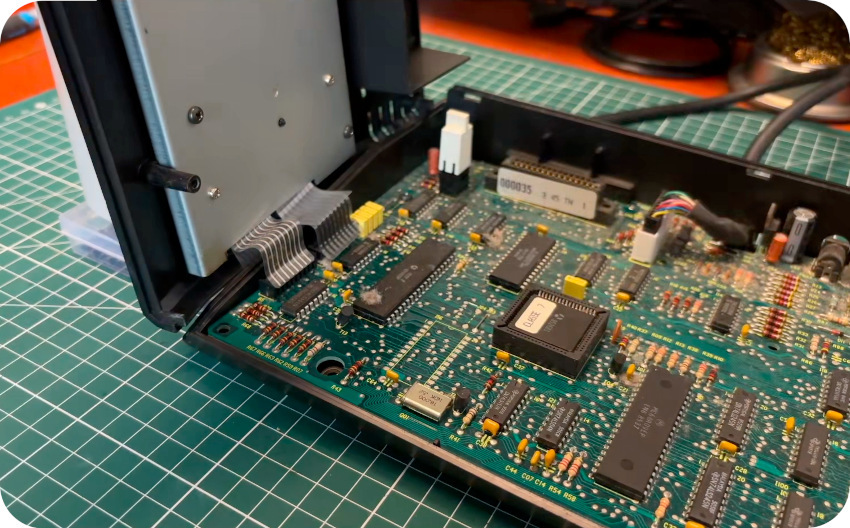
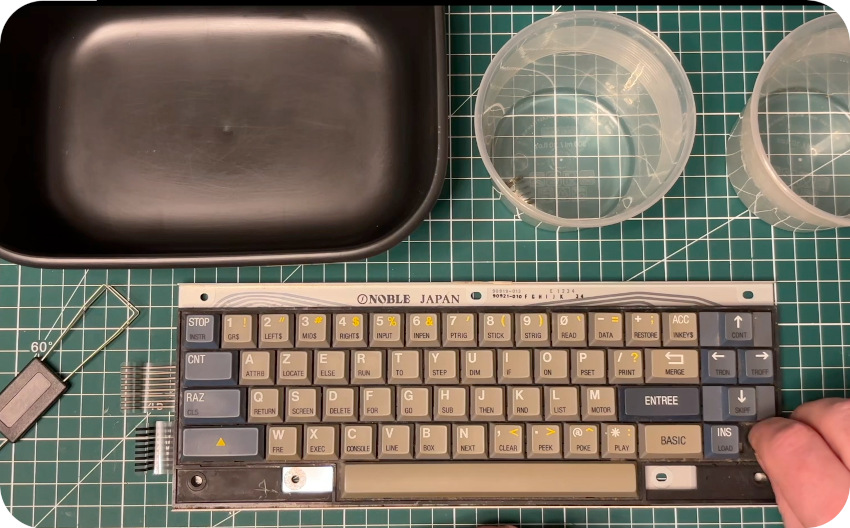
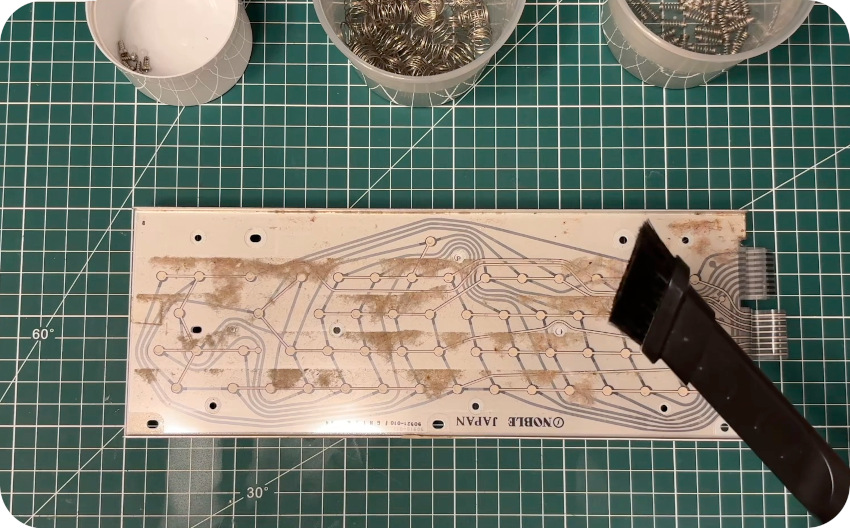
- From there, I could take the keyboard apart (be very careful with the membrane), removed the dust and other messy things, then cleaned each key:
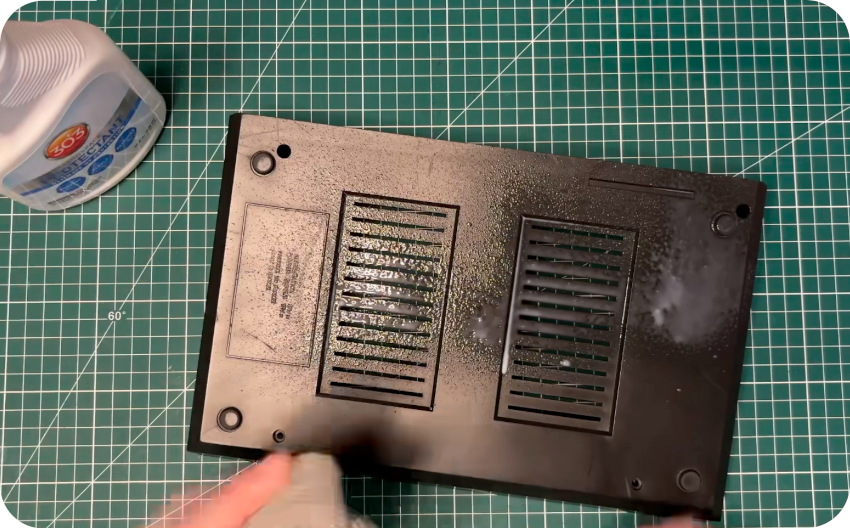
Then the case itself took a warm soapy bath. Once cleaned and dried, I coated the case with 303 UV protectant:
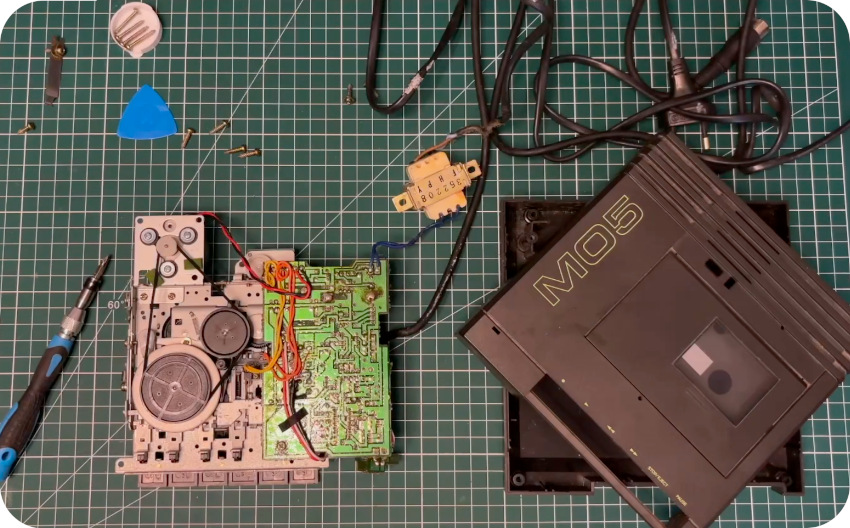
Finally, I took the time to fully service the dataset:
Once done, I managed the load software from tapes and from cartridges. Everything worked ! I always amazes me how resilient these old technologies are (when compared to today’s) !
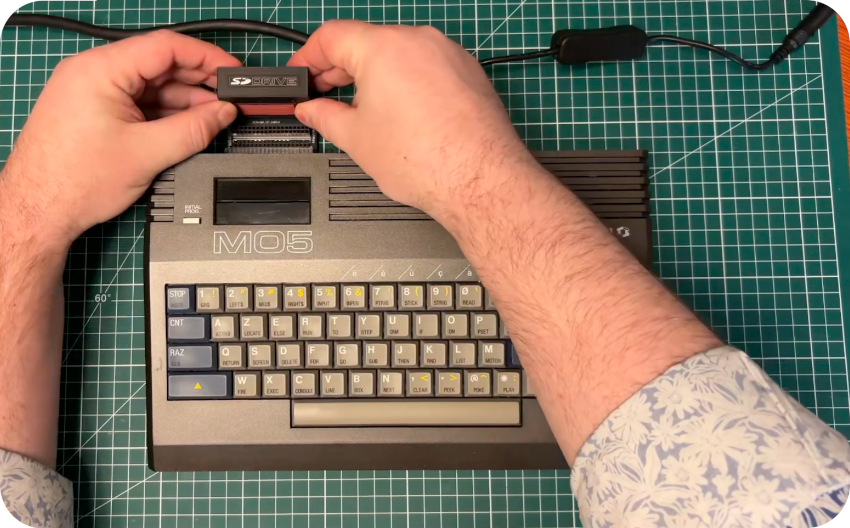
Then, I decided to take a step (back?) into the present and offer to this little computer a new device: I ordered from Daniel Coulon a SDDrive controller, which allows to load MO5 software directly from a Micro SD card. It arrived promptly and worked like a charm !
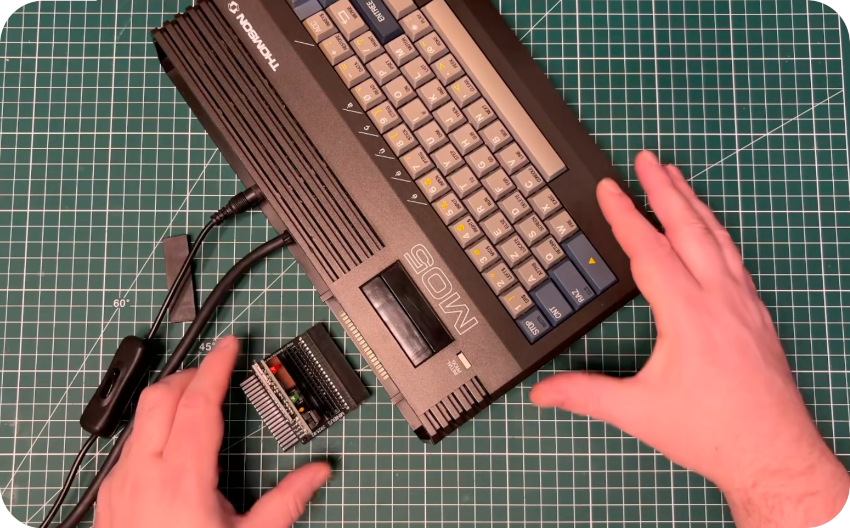
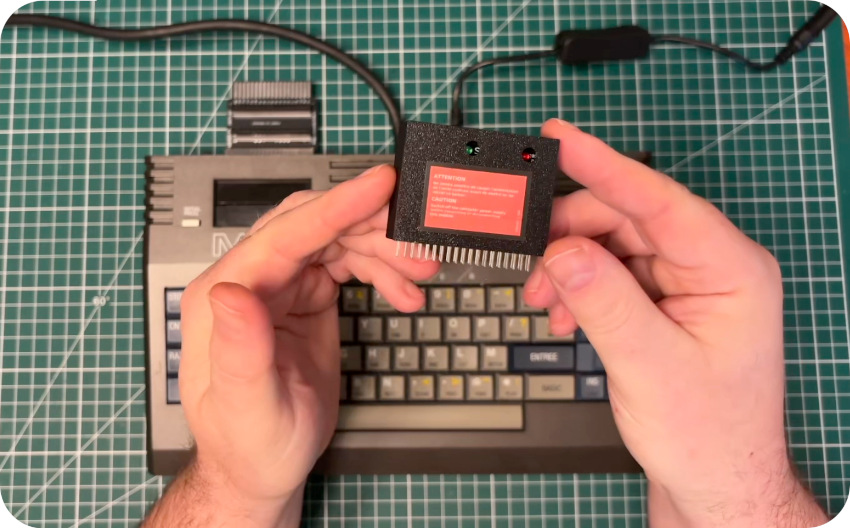
To protect this new device, I designed a very simple case using ThinkerCad:
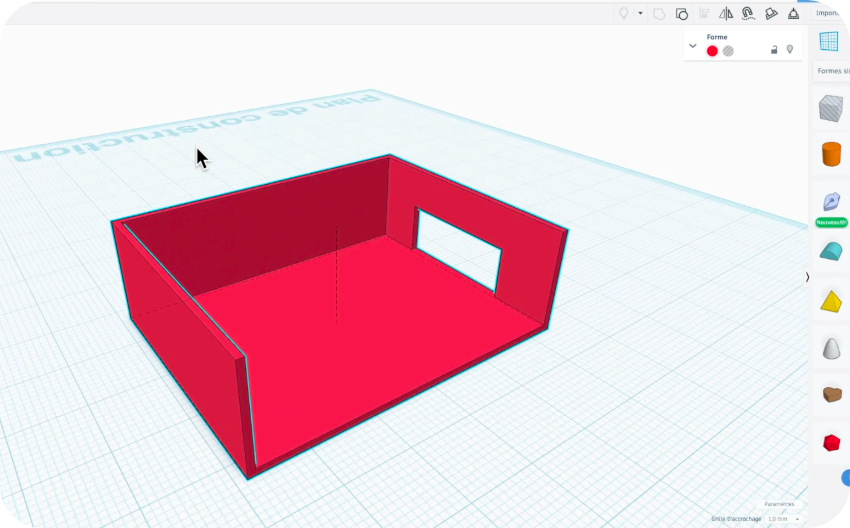
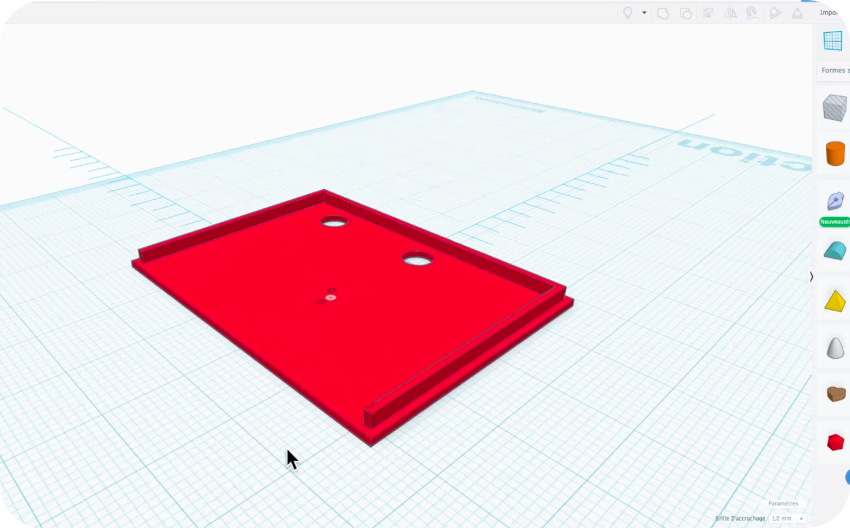
Then, I exported the corresponding STL files. Since, at the time, I didn’t have a 3D printer (more on that in a later post), I used PCBWay 3D printing services (no sponsoring there, though – full disclosure – they recently contacted me). I must say that the order and configuration process was very easy, even for a noob like me when it comes to 3D printing.
Just over a week after, I received this package:
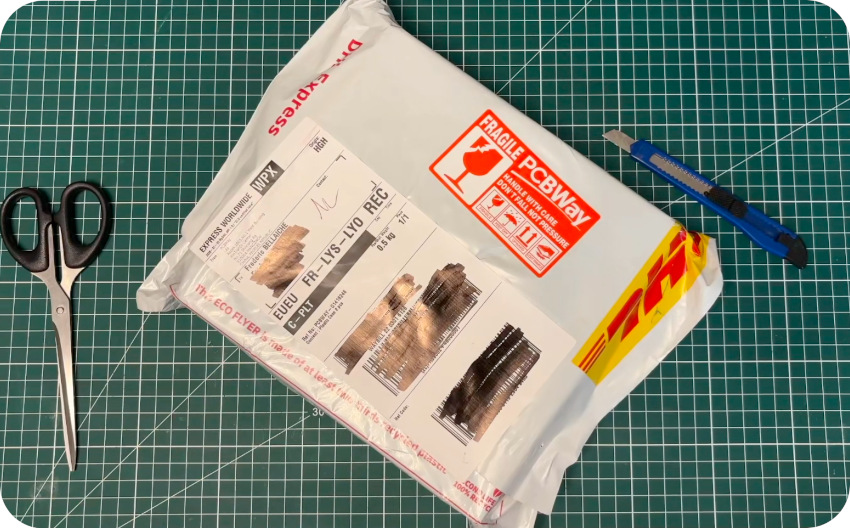
I must say that the result was very very good (and I’m glad the design was right on the first try, since it was my very first attempt at 3D modeling):
And … there we go ! That was a very pleasant journey, and I must say I learned a lot about MO5 / Thomson computers. It’s a shame I had never explored this whole universe before !
Here is the full video (published 11 months ago, sorry for the unfortunate delay) :
As always, the retro-community was amazing. A big big shoutout to DCMOTO, experts like Daniel Coulom, Fool-DupleX, and the French system.cfg forum !